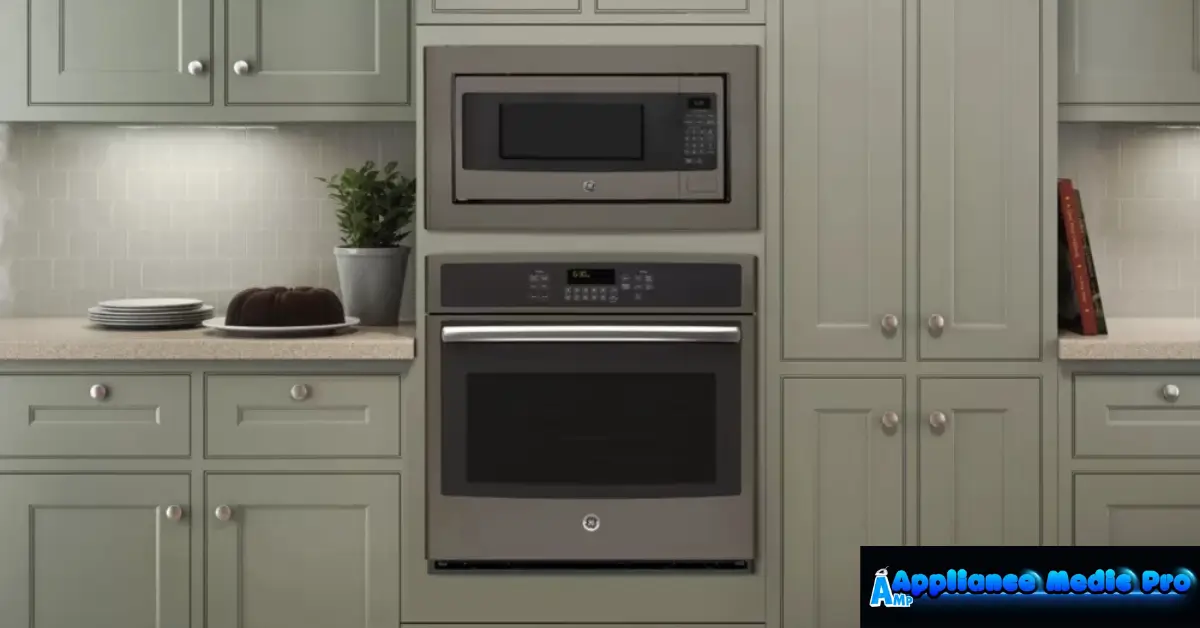
A GE microwave trim kit helps turn a countertop microwave into a built-in appliance, giving your kitchen a finished, custom look. At Appliance Medic Pro, we install and service many microwave trim kits — and we’ve seen how a poorly chosen or incorrectly installed kit can lead to poor ventilation, gaps, or even appliance damage.
This guide explains what you need to know before buying or installing one.

What Is a Microwave Trim Kit?
A microwave trim kit is a decorative and functional frame that:
-
Covers gaps around a countertop microwave
-
Matches cabinetry or finishes
-
Allows safe built-in installation
When installed correctly, it makes the appliance look factory-built-in.
Why You Need the Correct GE Microwave Trim Kit
Using the correct trim kit:
-
Ensures proper airflow and cooling
-
Prevents overheating
-
Provides a clean, professional appearance
-
Keeps the microwave securely mounted
An incorrect size or model can cause:
-
Poor ventilation
-
Microwave overheating
-
Rattling or loose installation
-
Damage to cabinets
Common GE Microwave Trim Kit Sizes
Trim kits are sized to fit specific microwave widths, commonly:
-
27 inches
-
29 inches
-
30 inches (rare, depends on model)
Before buying, always measure:
-
Width of microwave
-
Height of cabinet opening
-
Depth of the cabinet
⚠️ Mismatched sizes are the most common installation issue we fix.
How to Install a GE Microwave Trim Kit (Technician Overview)
Tools you’ll need:
-
Screwdriver
-
Level
-
Tape measure
-
Drill (optional)
Installation Steps (Simplified):
-
Turn off the microwave and unplug it.
-
Measure the opening carefully.
-
Align the trim kit with the cabinet edges.
-
Secure trim kit brackets per the manufacturer’s instructions.
-
Slide the microwave into place.
-
Check level and ventilation clearance.
-
Tighten screws and test.
👉 Make sure the microwave has adequate airflow — typically 1–2 inches clearance around vents.
Common Mistakes We Fix in the Field
❌ Using the Wrong Size Trim Kit
This results in:
-
Uneven gaps
-
Poor ventilation
-
Scratched cabinets
❌ Not Accounting for Ventilation
Microwave chassis vents need airflow — blocking them can cause:
-
Overheating
-
Automatic shutdowns
-
Premature failure
❌ Improper Mounting
Loose trim kits cause:
-
Rattling noises
-
Appliance movement
-
Cabinet damage
Tips for Best Performance
From real technician experience:
-
Double-check dimensions before buying
-
Use manufacturer-approved trim kits
-
Leave space for ventilation per GE specs
-
Tighten all screws securely
-
Clean the trim kit and microwave edges regularly
When to Call a Professional
Contact Appliance Medic Pro if:
-
You’re unsure of the trim kit size
-
The microwave won’t fit neatly
-
The kit doesn’t match the cabinet finish
-
You see heat or moisture issues around the installation
We ensure:
-
Correct fit
-
Proper support and airflow
-
Long-lasting installation without damage
Frequently Asked Questions
Q: Can I use any trim kit with my microwave?
A: No — trim kits must match the specific microwave model and cabinet opening.
Q: Does a trim kit affect microwave performance?
A: Yes. A correct kit improves airflow and prevents overheating.
Q: Can I install a trim kit myself?
A: Many homeowners can if they measure accurately and follow instructions — but professional help ensures it’s done safely and correctly.