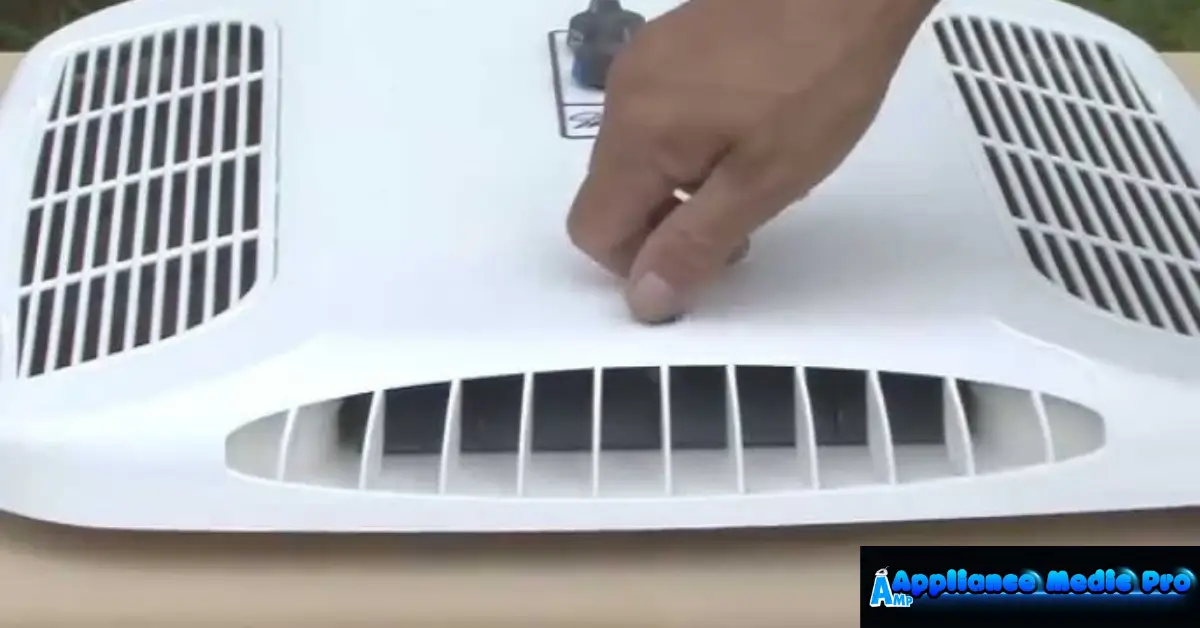
An RV AC ceiling assembly is a key component of your RV’s air conditioning system. While the main AC unit sits on the roof, the ceiling assembly is the indoor unit that distributes cool air inside your RV.
From real appliance and HVAC experience, many cooling complaints in RVs are actually caused by issues in the ceiling assembly, not the rooftop unit.

What Is an RV AC Ceiling Assembly?
The RV AC ceiling assembly is the interior section of a rooftop air conditioner. It is mounted on the ceiling inside the RV and is responsible for:
-
Distributing cool air
-
Housing the air filter
-
Controlling airflow direction
-
Sometimes containing control knobs or a thermostat
It connects directly to the rooftop AC unit above.
Main Parts of an RV AC Ceiling Assembly
Understanding the components helps with troubleshooting and maintenance:
1. Air Distribution Box (ADB)
-
Directs airflow into the RV
-
Includes vents and louvers
2. Air Filter
-
Traps dust and debris
-
Needs regular cleaning
Dirty filters are one of the most common causes of weak airflow.
3. Control Panel (Manual or Digital)
-
Adjusts fan speed and temperature
-
Some models include thermostats
4. Ceiling Grille & Vents
-
Covers the unit
-
Allows airflow into the living space
5. Ducting (Optional)
-
Some RVs use ducted systems
-
Others use non-ducted direct airflow
Types of RV AC Ceiling Assemblies
1. Non-Ducted Ceiling Assembly
-
Air flows directly into the RV
-
Common in smaller RVs
-
Easy to install and maintain
2. Ducted Ceiling Assembly
-
Connects to air ducts throughout the RV
-
Provides more even cooling
-
Found in larger RVs
Common RV AC Ceiling Assembly Problems
From real repair experience, these are the most frequent issues:
❄️ Weak Airflow
-
Dirty air filter
-
Blocked vents
-
Loose internal components
🔊 Loud Noise
-
Loose fan components
-
Vibrations in the assembly
-
Worn parts
💧 Water Leaking Inside RV
-
Blocked drain system
-
Poor sealing between the rooftop unit and the ceiling assembly
❌ AC Not Cooling Properly
-
Air is not distributed correctly
-
Ceiling assembly airflow restriction
-
Filter clogged with dust
How to Clean and Maintain Your RV AC Ceiling Assembly
Regular maintenance improves performance and prevents repairs.
Step-by-step cleaning:
-
Turn off the AC power
-
Remove the ceiling cover
-
Take out the air filter
-
Wash with warm water and let dry
-
Wipe dust from vents and interior
-
Reinstall everything
👉 Clean the filter every 2–4 weeks during heavy use.
How to Replace an RV AC Ceiling Assembly
Replacement is usually straightforward if compatible with your AC unit.
Basic steps:
-
Turn off the power
-
Remove the old ceiling assembly
-
Disconnect wiring
-
Install the new assembly
-
Secure mounting bolts
-
Reconnect wiring
-
Test the system
⚠️ Always ensure compatibility with your rooftop AC model before buying.
When to Replace Instead of Repair
Replace the ceiling assembly if:
-
Cracked or damaged housing
-
Controls stop working
-
Airflow remains weak after cleaning
-
Unit is outdated or inefficient
Replacement is often more cost-effective than repeated repairs.
Cost of RV AC Ceiling Assembly
Typical price range:
-
Basic models: $100–$200
-
Advanced models: $200–$400+
Installation cost depends on whether you do it yourself or hire a professional.
Tips to Improve RV Cooling Performance
✔ Clean filters regularly
✔ Keep vents open and unobstructed
✔ Park in shaded areas
✔ Use reflective window covers
✔ Seal any air leaks in the RV
Frequently Asked Questions
What does an RV AC ceiling assembly do?
It distributes cool air from the rooftop AC unit into the RV.
Can I replace the ceiling assembly myself?
Yes, many models are DIY-friendly if you follow safety precautions.
How often should I clean the filter?
Every 2–4 weeks during frequent use.
Are all ceiling assemblies compatible?
No, always match the assembly with your AC unit model.